How making expands students’ visions of themselves
The goal of maker education is not college and career preparation.
The goals are deeper learning and authentic engagement, with an emphasis on turning learning over to the learner.
However, making is the best college and career preparation that I have encountered, in part because it isn’t the core goal. Through making, students build their agency and find new passions.
Lighthouse Community Charter School in Oakland, Calif., where I work, serves students from low-income communities. Five years ago, if you asked seniors about their visions of themselves as adults, they would have envisioned themselves as doctors, teachers or in a vocational job — the careers they encountered in their everyday lives.
It’s hard to imagine yourself doing something when you haven’t seen or experienced it. But now students are engaged in becoming designers, artists, auto-mechanics, engineers, software developers, scientists and teachers through their involvement in making — in core classes, electives, and after school.
As they engage in these areas at school, they start to see themselves in these fields. A year after we started a robotics class in the high school, we had our first graduates interested in majoring in computer science and engineering. Through robotics, we introduced students to tech fields, and, in so doing, they started to see themselves as programmers and engineers.
A year later, we added more diversity (woodworking, sewing, physical-computing and design) to this class and opened the doors even wider. This led students to see themselves as designers, artisans and architects. Now our Creativity Lab is working with students from K–12 to build these visions of self-starting with our youngest students. Our focus has never been to fill the “STEM pipeline,” but rather, to expose students to passions they didn’t know they had, and, in so doing, open up future options for them.
So, exposure to what is possible is one way in which maker education prepares students for college and career. But college and career prep is about more than knowledge of different fields.
By turning learning over to the learner, we develop student agency — their own interest and ability to learn about the work around them, and to solve the problems they encounter. What better preparation is there for a career than the ability to identify what needs to be learned and then learn it?
Two years ago, one of my students, Katia, saw a visually-impaired person almost walk in front of a car. The experience inspired her to develop a cane that would warn people of approaching objects. Over the next five months, she learned to program an Arduino, use sensors to detect distance, and create an output the user can hear. She taught herself CAD and the use of a 3D printer to design a case to hold her project. She learned all these skills in order to solve a problem she had identified herself, a mindset which will clearly serve her in college and any future career.
As one of my students, Arya, told me, in the making class “they don’t judge your ideas; they won’t laugh at them. They will ask you questions about how you will research it, your plans. You give yourself an assignment.” This sounds like what I would like in a colleague — how about you?
Aaron Vanderwerff is a K-12 makerspace and science director at Lighthouse Community Charter School in Oakland, Calif. Aaron also is a SmartBrief Education Educators’ Choice Content Award winner. Listen to an interview with Aaron on Education Talk Radio.
This blog post originally published on SmartBlog on Education
Tips, Tricks, & Ideas: Bandage Scissors
Someone (I don’t remember who—sorry!) recently gave us this nifty piece of advice, and I’d like to pass it on to all of you: bandage/medical scissors work really well for cutting cardboard. We used them for our marble maze and cardboard hands at Maker Faire, and they were great. I also tested them on Popsicle sticks, and they cut through those pretty easily, too. (Though, I’m not sure how quickly Popsicle sticks will ruin the blades. Also, pieces of Popsicle stick went flying, so safety glasses are a good idea.)
We ordered ten of these, and so far they’re getting the job done.
Let us know if you have other tips, tricks, or ideas.
![]()
Lighthouse @ Maker Faire 2015
Maker Faire came and went. It took months of planning—an entire year, for those of us who began thinking about it at the close of last year’s faire (which does not include me)—scheduling, rescheduling, last minute panics, and many headaches. But it came together really nicely in the end.
How would you describe Maker Faire?
“Umm…fun. I don’t know. What’s a word for when there’s a lot going on? Like, things going on all the time.” – Jocelyn, senior
“It was like a convention of things people made, I guess, that they thought were useful or cool.” –Kyle, sophomore
This is Maker Faire:
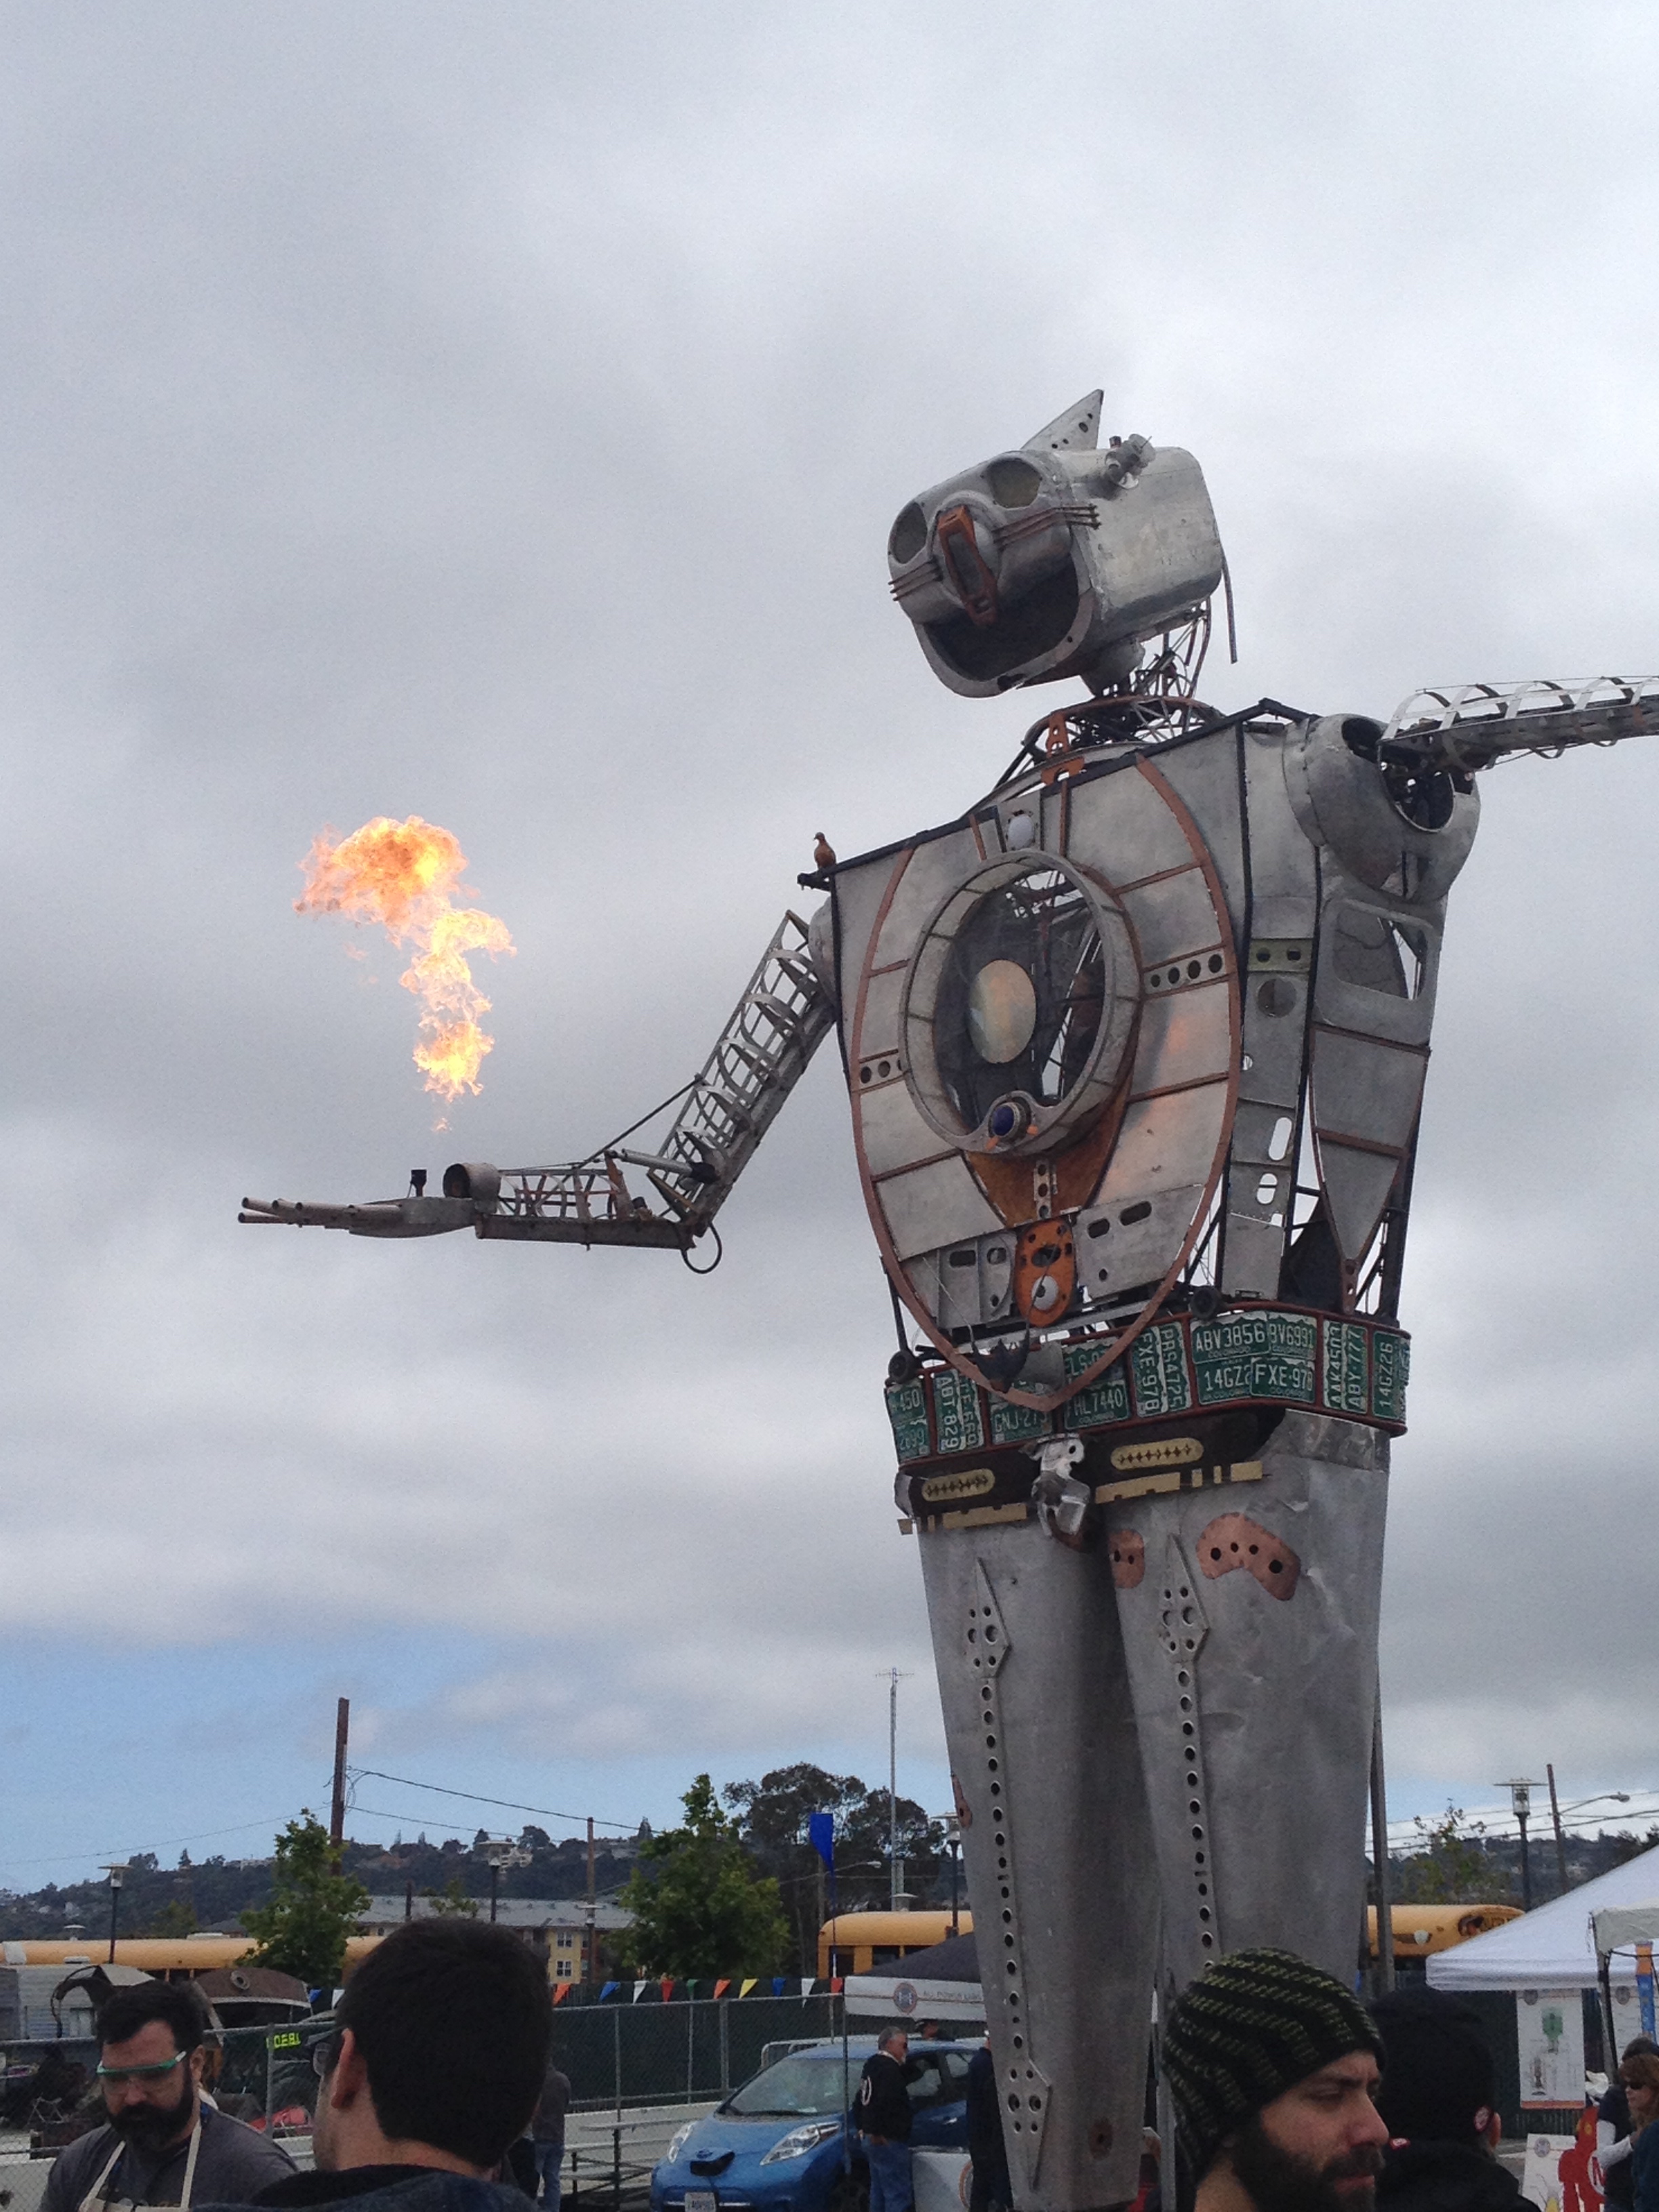
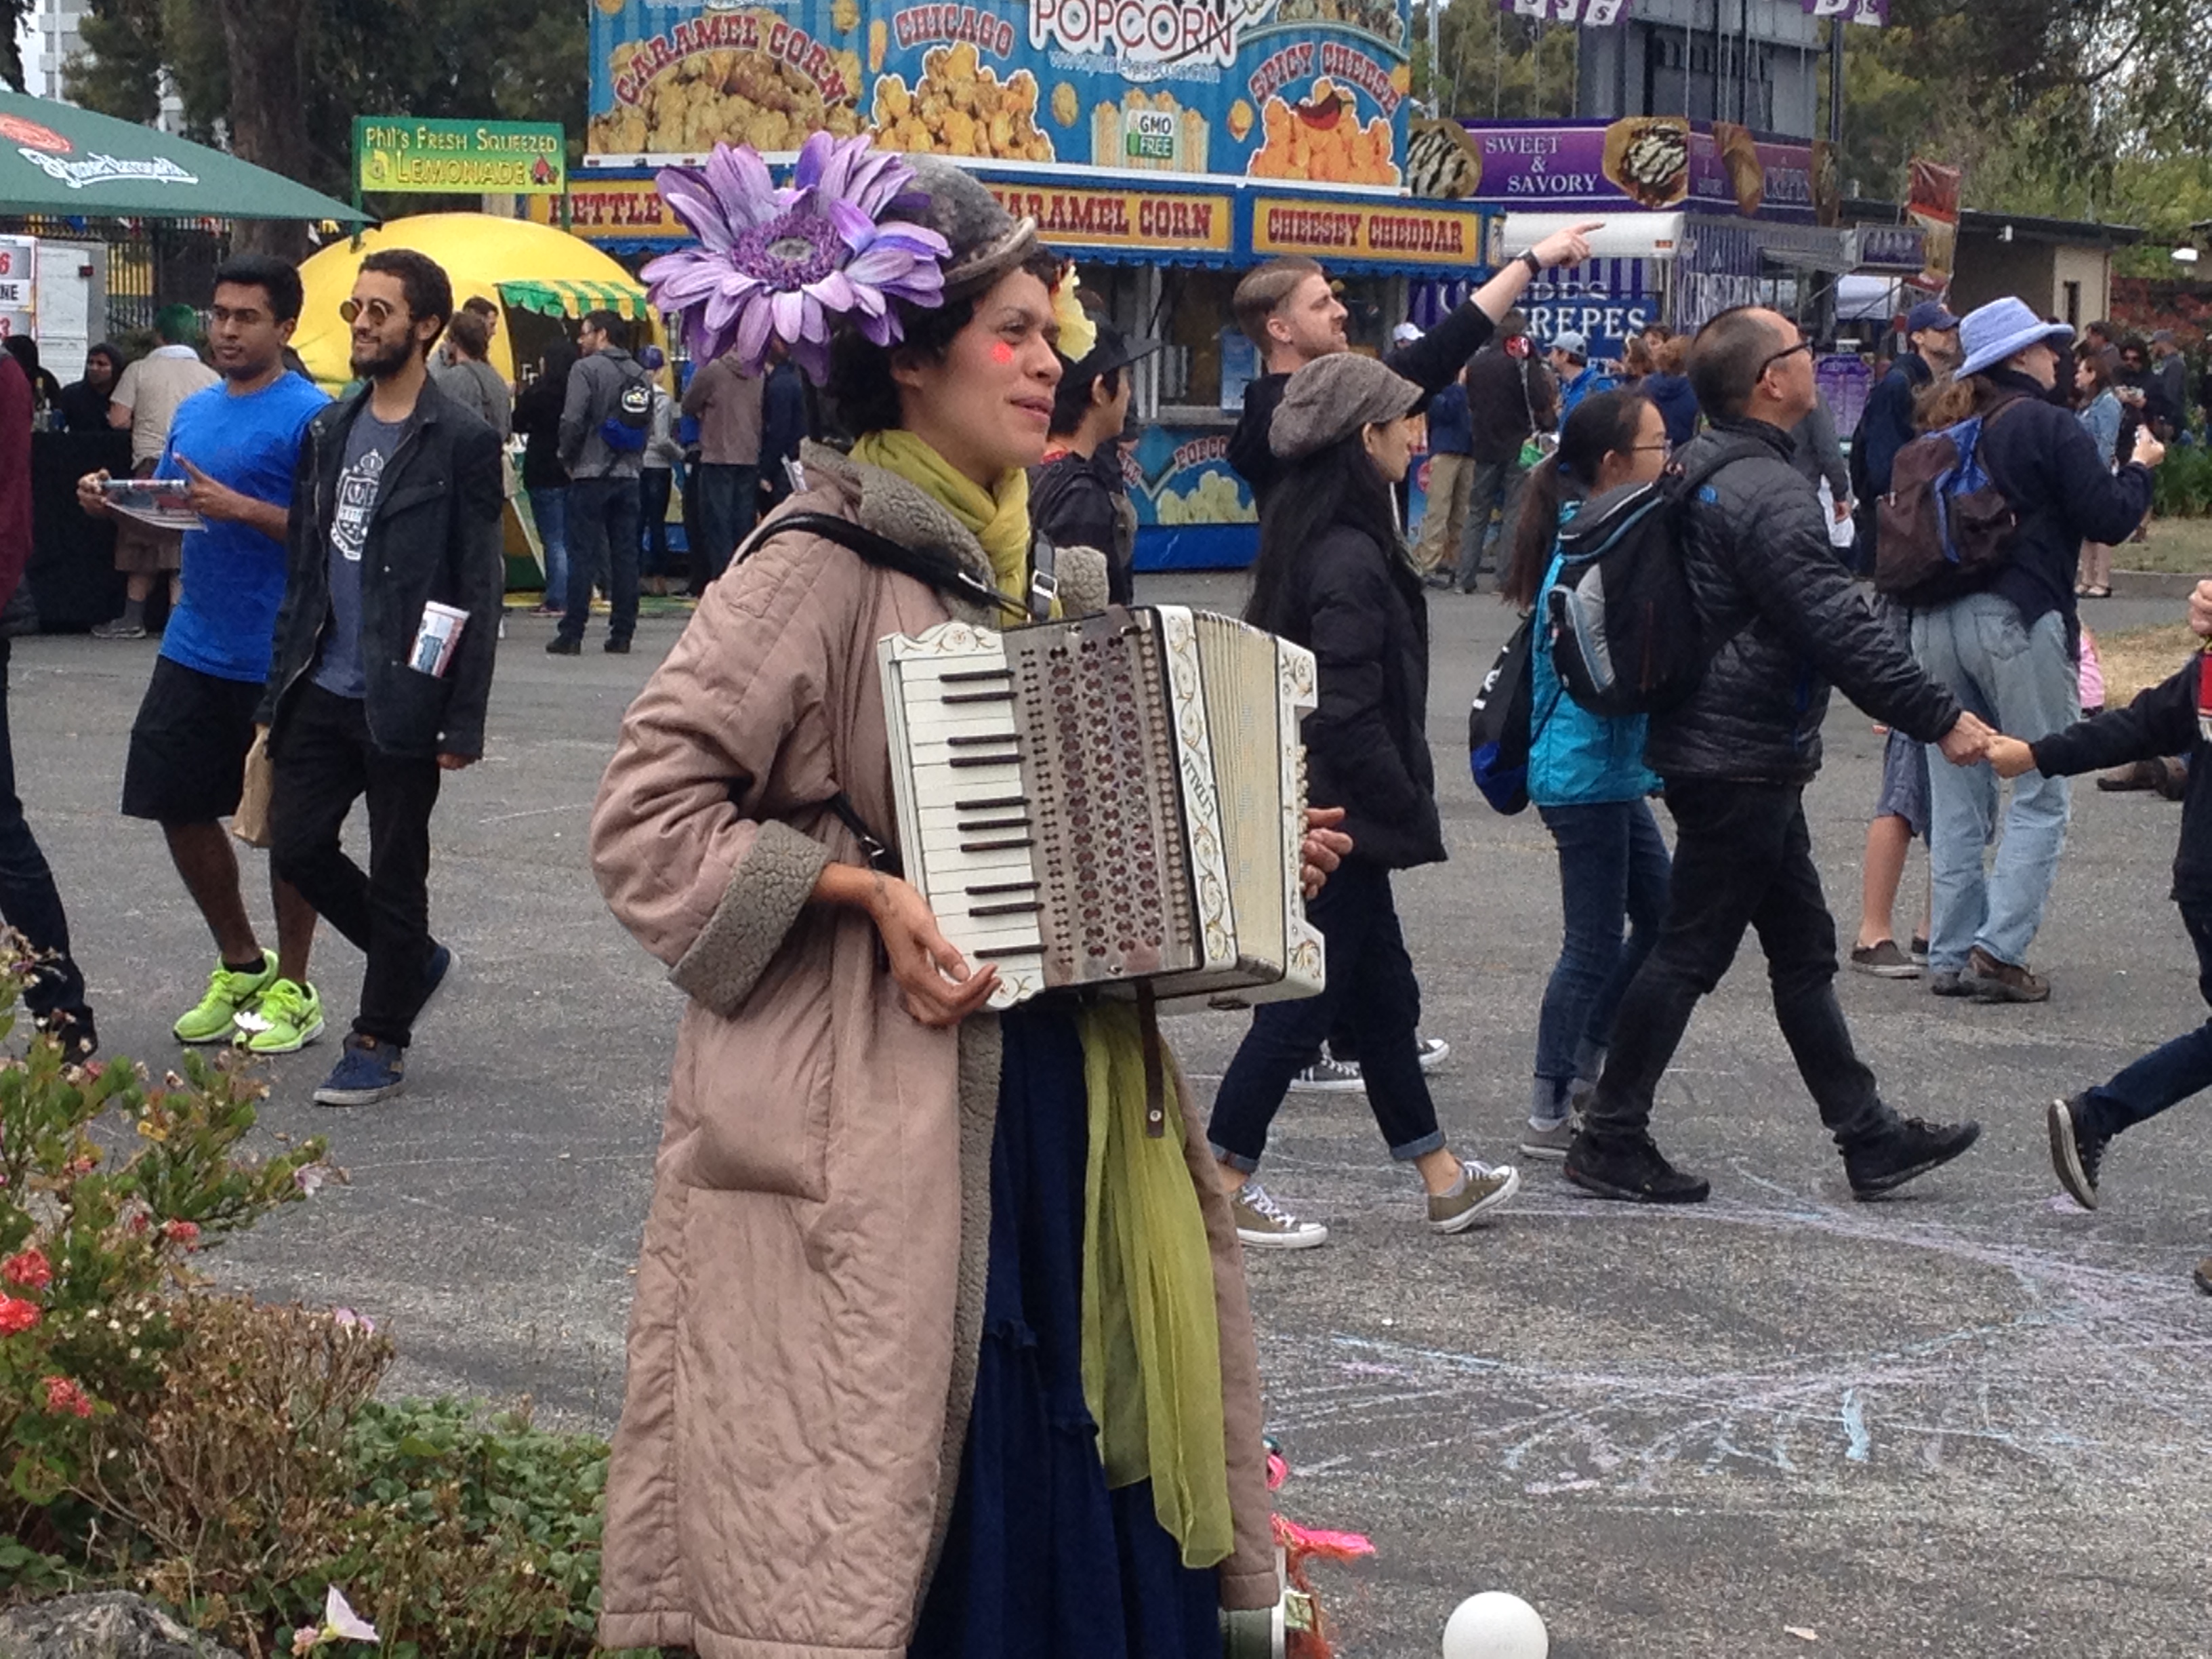
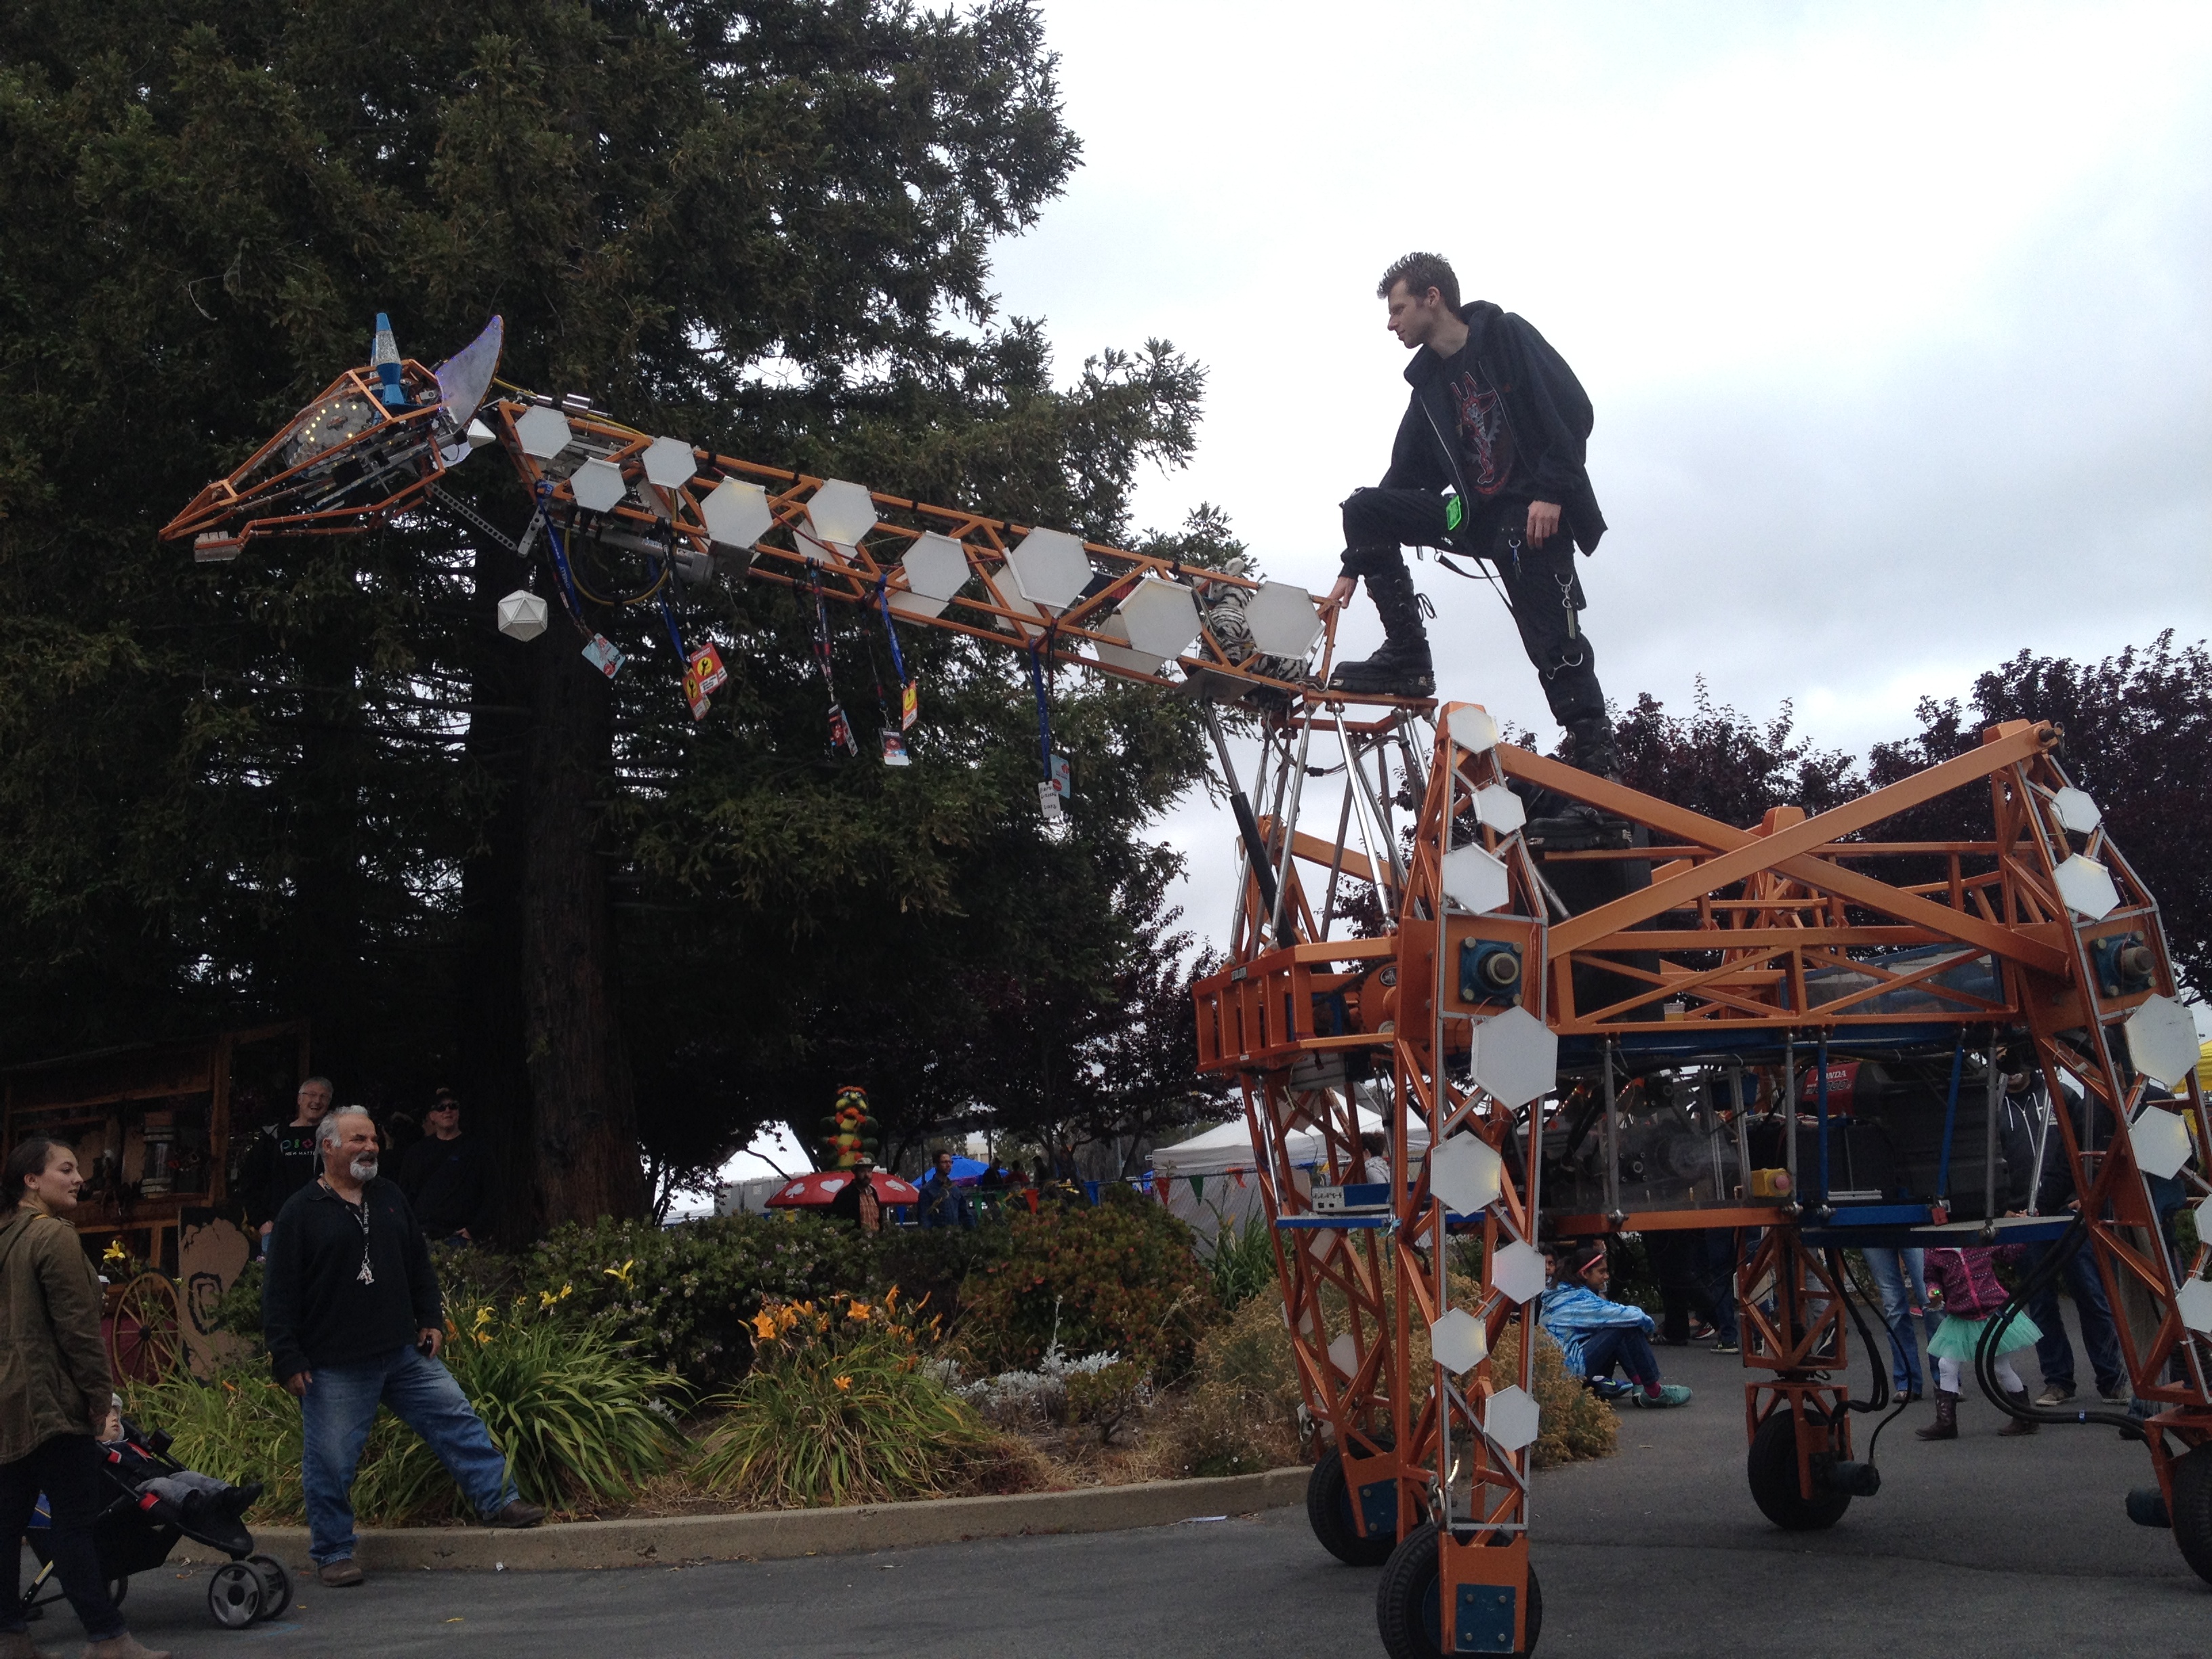
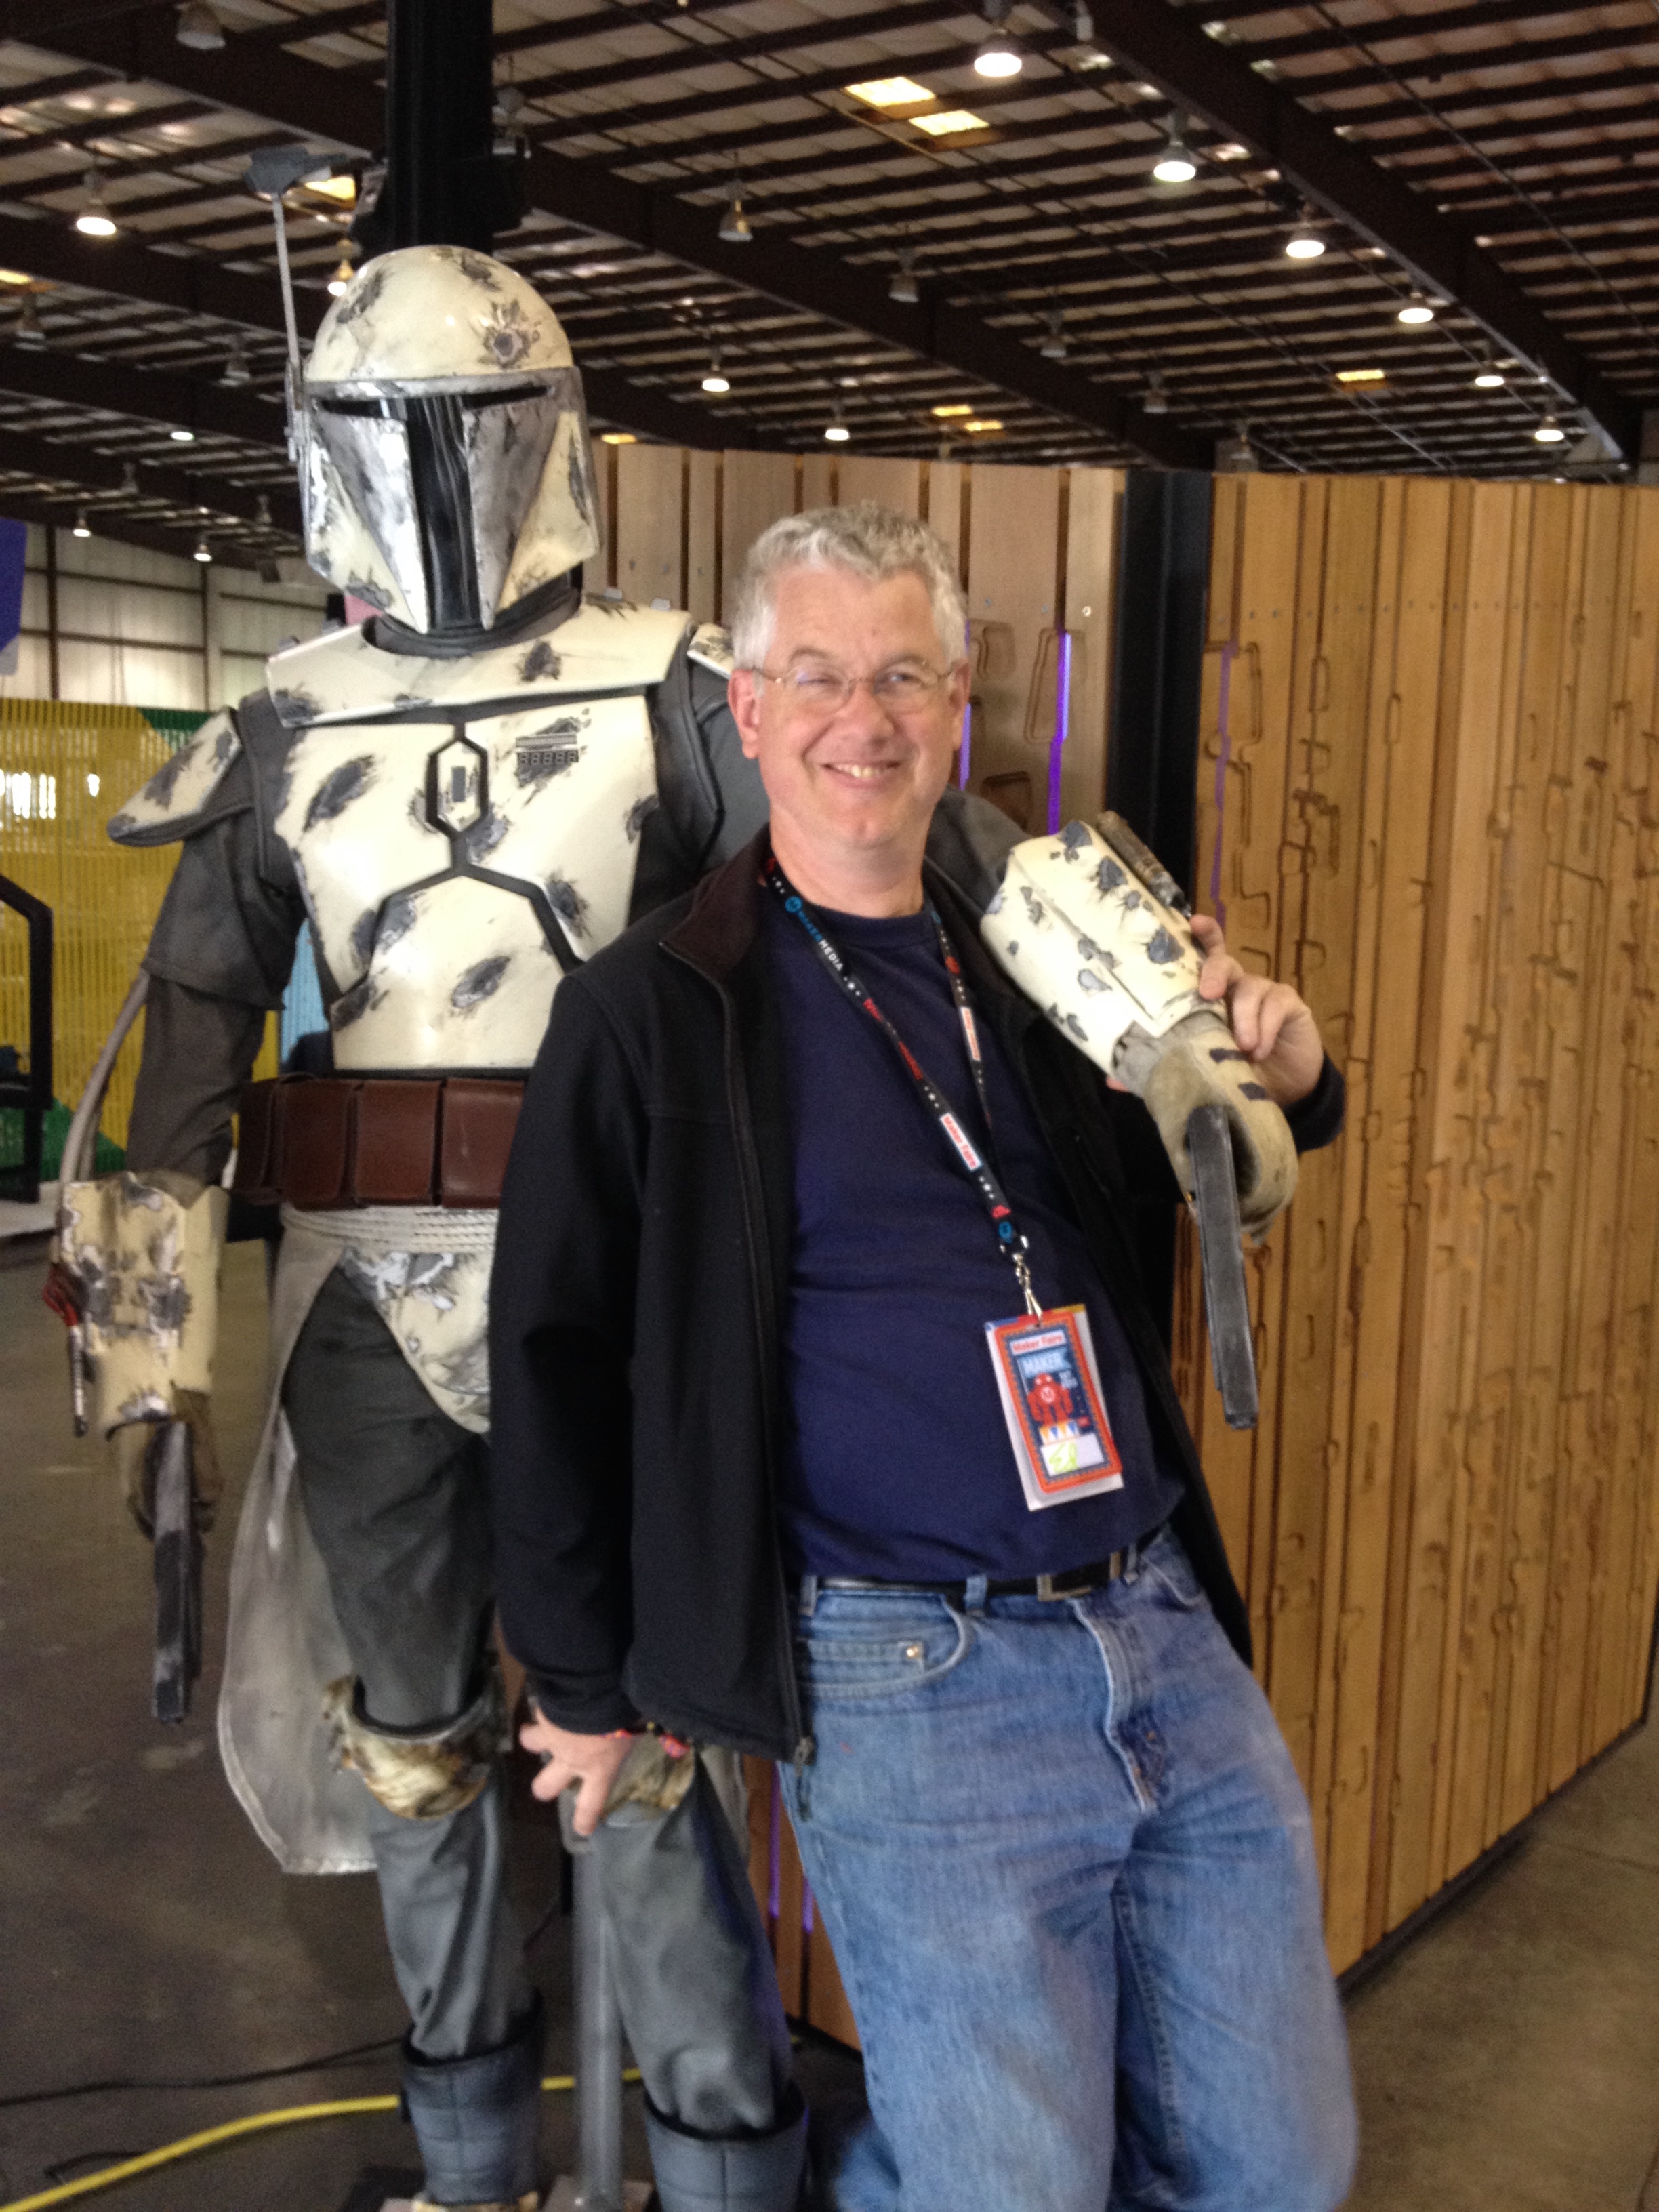
Well, that’s a teeny, tiny sampling of Maker Faire, anyway—where for one whole weekend, the weird, the brilliant, the artsy, the craftsy, the technological, the genius, the ingenious, the creative, the scientific, and the “whoaaa” come together for a giant extravaganza/barbecue.
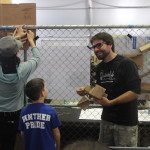
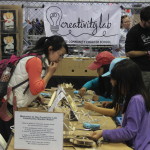
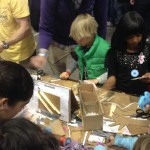
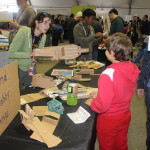
For the fifth year in a row, students and teachers represented the Creativity Lab at Maker Faire with their own interactive making sessions and project displays. This year, we had roughly thirty students—grades sixth through twelfth (and one kindergartner, for good measure)—helping with our booth over three full days.
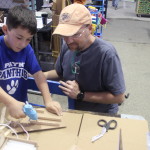
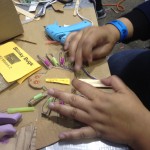
Our goal was both to show off the hard work and creativity that our students have put into their making projects over the past several months, as well as get new makers engaged in the fun themselves. From 10:00 am–6:00 pm, our students got to be the teachers as they helped participants of all ages join us in making marble mazes, cardboard hands, buttons, and circuits:
I shot that video before the gates were opened and the flood poured in. Rest assured, we had thousands of attendees stop by to make with us throughout the weekend.
What was your favorite part of Maker Faire?
“Looking at the LED exhibits. The tree that lights up every time you spoke to it. It would change colors depending on your sound.” – Norma, senior
“Seeing people walking around with their projects, and being proud of it. They all seemed so happy about what they made, and that was cool.” –Jocelyn, senior
“Everything.” —Tova, kindergarten
Many big-name companies have showings at Maker Faire, and even independent artists will sometimes shell out hundreds of thousands of dollars on a giant display. They can be exciting, (they certainly drew in large crowds and captivated the interests of our students), but we try to go the opposite approach. With just cardboard and straws, we had crowds all day, and I think it goes to show that people are just as interested in resourcefulness and creativity as they are explosive and expensive.
Take our marble maze, for example:
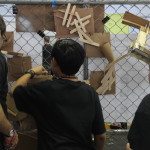
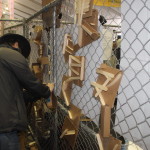
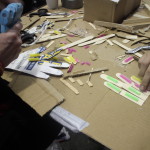
Our 7th graders helped to put this one on. Participants could build their own piece of the maze out of popsicle sticks and cardboard, then tie it onto the wall. It takes some fiddling to get the pieces to line up just right, so that the marble exits from one piece into the other (we had marbles flying all over the place), but that’s making for you, and the challenge involved and persistence required is what makes it so much fun. We had some pretty innovative and unique pieces added to our marble maze. It’s hard to see the marbles actually going through the maze (they’re small, and the quality of the filming ain’t so great), but the video below will at least give you some idea of what we built:
And here’s something cool and unexpected:
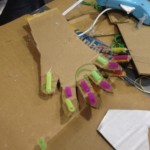
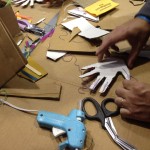
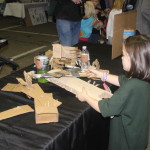
We’d intended all along to let participants have a go at making their own hands as one of our activities. (You may recall my post on this project just a few weeks back.) But, before we even got around to setting this activity up, passersby who saw our display of hands got excited enough over the project that our marble machine station naturally turned into a hand-making station all by itself. Hand-making was probably one of the biggest hits of our entire booth (and I’ll just go ahead and be bold enough to say it was one of the biggest hits of the entire Maker Faire).
We also had a huge turnout with our circuit blocks, and a long line at our button machine. I’m half-convinced that next year we should just bring ten button machines to Maker Faire, and leave it at that.
Did anything at Maker Faire inspire you?
“I saw this—I don’t know what it was, a giraffe or a cow, but it had LEDs lights around it and sound. I guess it inspired me to think that I can do more than just staying small with my LED creations. There are a lot of things you can do with LEDs rather than just small things.” –Norma, senior
“I saw a lot of 3D printed stuff and a lot of stuff that you wouldn’t normally think about, like a guy riding a huge pencil-bike that actually worked—like, it actually had lead. So that was inspirational, to kinda think outside the box.” —Jocelyn, senior
“No.” –JC, sophomore
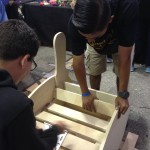
Frankly, our high school students in the making elective struggled to get their projects done in time for Maker Faire this year, which caused more than a little anxiety. We used it as an opportunity to let visitors of our booth see the making in progress. One group finally finished their rocking chair at Maker Faire (and got some praise from other nearby makers), and our guys working on the Van de Graaff generator put in some extra work at the Faire, too. So it worked out, and the lesson to take away from this is 1) make your students get their projects done earlier, and 2) when they inevitably don’t, use it to your advantage.
I feel like I’ve done a lot of typing, when my computer is stuffed with pictures from Maker Faire, which is probably more interesting to all of you (if not, I take that as a huge compliment). And if each one of those pictures equals a thousand words…well, that’s a lot of words, so I’ll let them do their job.
Enjoy!
Oh, yeah, one more thing! Several of our students participated in a Q&A on their experiences with making. Here’s the video:
![]()
Countdown to Maker Faire: 9 Days
Project: Van de Graaf Generator
Makers: Gilberto C., Arya B., Martin R.
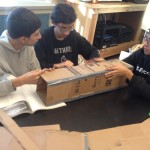
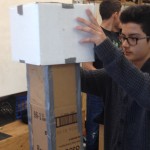
At least from my perspective, this is one of the bigger and more complex of our student projects being worked on this year for Maker Faire. A Van de Graaf generator is a machine that builds up an electric charge inside of a metal sphere that sits atop a shaft. The charge can be strong enough that, when touched, the sphere will deliver a shock. I’m almost certain that the opportunity to shock people is why this project appealed to these guys.
I’ve been watching this group work on their project for months now, and it’s been a slow but steady progression. I’ve yet to see any electricity, so hopefully they are on track to get that taken care of soon (or, even better, maybe they’ve gotten it up and running without my noticing).
Here’s the progression of their work over the months, starting with their cardboard prototype.
![]()
Countdown to Maker Faire: 10 Days
Maker Faire prep is coming along. While the Creativity Lab staff is hard at work getting t-shirts ordered and schedules planned (and more—trust me, there’s quite a bit of work involved), students are working to get their projects wrapped up. I’m dedicating the next few weeks to previewing some of the projects that students will be showing off at Maker Faire.
Project: Dog House
Makers: Michael Z., Ulises Z., Omar d.
A friend of theirs needed a dog house, so these guys took it upon themselves to build one. It started with a cardboard prototype several months ago (actually, a few cardboard prototypes), before they switched to plywood.
Early models included a ramp to a second story, and a small bird house on top.
Since then, it seems they’ve gone for the more traditional look: A-frame roof with a square door (no second story). Their updated design let them use a single sheet of plywood.
 They did hit some obstacles getting their measurements perfect when they cut their wood, so they’ve had to shrink their house a bit—but it looks like they’ve done a good job with their woodworking, overall. Right now they are painting the inside of the house before attaching the sides, and they say they’ve done research on what color Yorke’s like (so they’re going with orange).
At the moment, there aren’t any electronic components to this project, which is fine, but I’m wondering if, even after the Faire is done, we can’t get them to push their design even further. I think this is a great opportunity for a design thinking routine.
Making Hands
We are all focused on getting ready for Maker Faire right now, which has kept me busy and gotten me behind on this post. Next week I’ll begin posting previews of students’ projects for Maker Faire, but, while it’s still fresh, I thought I’d share a making project that our middle school students just finished in their making elective, since I missed getting a post up about it last trimester.
Frankly, I don’t know what our official title for this project is. Around the Creativity Lab, we generally just refer to it as “the hand project,” or “hands,” as in: “Students are working on their hands,” or, “Do we have any hands we can show off to a tour group?” So, here it is:
The Hand Project: Build a device that can be manipulated to pick up objects. Grading is based on creativity, effort, and the machine’s ability to effectively pick up a berry basket, a cup of water, and an egg carton (filled with wood, to add weight).
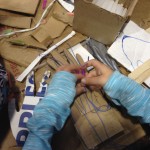
Students begin by studying their own hands—how joints and tendons work together to form grabbers, and so on. It’s a quick examination, just to give students some ideas to jump-start their design process. Our main material for the hand project is cardboard. (It’s cheap; it’s in abundant supply; it’s sturdy; it’s easy to work with…)
Here’s an idea of a basic design:
1. Students trace and cut out their own hands on cardboard
2. Attaching strings that run through straw pieces along the fingers creates tendons that let the fingers bend when the strings are pulled. The most straws pieces used, the more the fingers will bend.
(Note. Though the four main fingers tend to be easy to manipulate, creating a thumb is more challenging. This is where a lot of the design process and creative thinking comes into play. Just like a cartoon hand might be animated with three or four fingers instead of five, students are encouraged to reimagine what a hand should look like.)
Students are free to deviate from the hand idea altogether—and, frankly, students who branch out tend to be the most impressive in regards to creativity and persistence. (This is why calling the project “hands” doesn’t quite fit, but we’re going with it for now, anyway.)
One student designed hers to work like a prehensile tail:
The tail design was able to pick up the berry basket and cup of water, but the egg carton proved too heavy for the cardboard. The student received an “exceeds expectations” grade regardless, for the effort and creativity involved.
Watch the videos below to see more of our students’ designs in action. Comment and let us know what you think!
(Sorry—I wasn’t able to get video showing that hand in action!)
“The Hand Project” designed by Jeremiah Jenkins. Pictures and videos feature 7th and 8th grade students at Lighthouse Community Charter School.
![]()
Testing out 3D Printed Scribblers
In the weeks to come, we are focusing on Maker Faire prep, but I’m also working on an updated project guide for scribble machines.
It would be nice if I could fit this project guide to the template I just created for Turtle Art, but we’re talking about two very different kinds of projects. The Turtle Art project guide is designed to teach a specific curriculum over a series of lessons, while scribble machines are more of an exercise in creative design and observation. So I’ve been playing with different ways to structure this guide, which has led me to experiment with expanding the project, itself.
I’m wanting to add a greater complexity and technology aspect to scribble machines, beyond just taping markers to a plastic cup, so right now (as I type this), I’m 3D printing my own, customized scribble machine that I designed on TinkerCAD. I feel like this takes scribblers from an elementary school project to a middle and even high school project, giving students the opportunity to really think critically about their designs, and spend time tinkering and fussing over the nuances of how their machine will work. I started my design yesterday, and have already had to tweak measurements five or six times.
Right now my idea is to create shafts that the markers can fit snuggly in, (because, as anyone who’s ever made a scribbler knows, getting the markers secured solidly and precisely is a pain), with holes throughout the body to tie a motor down.
A few tips:
1. Test run individual components before spending two hours waiting for the entire design to print. Don’t assume your markers will fit into your precisely measured and designed tubes that you’ve spent an hour printing. Make a tiny ring using those measurements first, then go for the gold. I learned this the hard way…
2. For my design, I had to angle the shafts outward for balance.
3. As much as possible I tried to fill my design with holes, to not only cut down on print time, but also to give as many options as possible for tie-ons to my design.
So, here it is, after just a few hours of tinkering and printing:
I really like how snuggly the markers fit. (I think I used a diameter of 0.635 for the shafts.) I can see students taking this project even further from here. As I was printing mine, I considered how annoying it would be to have to design and print a whole new machine if I wanted different marker placements, etc, so I thought creating interchangeable parts might be fun, to keep the design as flexible as possible. And I think it probably wouldn’t be too hard to use an electronics kit with servos (like Hummingbirds) to program the machine to draw specific shapes.
Anyway, these are some ideas I’m playing with right now.
My original didn’t work (the makers were just slightly too big), but all was not lost. I now have a handy-dandy sharpie case.
![]()
Scribblers
Scribble machines are quick projects that combine arts and crafts with the basics of circuitry. They’re incredibly
open-ended, making them a great exercise in creative design and persistence.
The idea is to build a robot that draws as it moves, and we typically don’t give students any further instruction after this prompt. This usually creates some frustration, but also leads to great problem-solving, and designs that we never would have come up with on our own. There’s no “right way” to build a scribbler. If it draws, it’s a success. If it doesn’t, it’s an iteration towards success.
Last week, our ninth graders worked with their kinder buddies to build scribblers. Within an hour, we had markers doodling in wildly different patterns:
The Classic 360
The Polygraph
The Sprinkler
As students begin finding success with their scribblers, we often challenge them to create new designs and new patterns. We might ask them if they can make their scribble machine go in a straight line, or turn in the opposite direction. Students can then use their drawings as visual data—that is, each time their scribbler creates a new design, rather than creating tedious charts and graphs, students can write beside the drawing what changes they made to create that effect. It becomes a fun way for students to engage in the scientific process and learn about observation/documentation.
PS. Sometimes our scribblers put on a show.
Pas de Deux
![]()
Designing Making Experiences @ Castilleja
This past weekend we co-hosted a “Designing Making Experiences” professional development session at Castilleja School in Palo Alto. We offer several of these workshops a year, with the goal of helping attendees integrate making into their curriculum. For two days, participants ideate, collaborate, and prototype a project that they can bring back to their classrooms. Here are some of the projects that our participants came up with at this session:
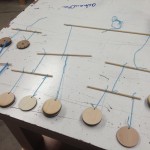
- Design and build a scale model of a park
- Mobil that explores relationship between distance and weight.
- Val M.—High School Physics & Engineering: Build a mousetrap car to learn about forces.
- Mike K.—Computer Science: Explore electronics and programming, using Hummingbird kits.
- Use simple machines to learn about celestial mechanics.
- Soft Circuits
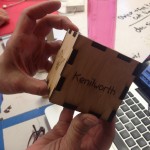
- Laser Cutting Boxes
Our next “Designing Making Experiences” workshop is March 20, and 21 at Lighthouse Community Charter School. To sign up for this, or other sessions, check out our Eventbrite page.
![]()
The Mathematics of Turtle Art
I’ve been working on an updated project guide for Turtle Art (coming soon), and it’s inspired me to do a follow-up to my previous Turtle Art post, and talk a little about why we like Turtle Art to begin with.
We use Turtle Art not only as an introduction to programming, but also as a tool for helping students explore mathematical concepts. Asking a student to draw a shape using Turtle Art doesn’t necessarily demonstrate much mathematical thinking, but once students discover that they can make the turtle turn at right angles by entering “90” into a right command block (indicating the turtle should turn right 90 degrees), teachers can start a discussion on angles. “Great! You’ve figured out that to make the turtle turn sideways, it has to turn 90 degrees. How many times does it have to turn to make a square? Four? So, how many degrees does a square have?” Then, as students develop an understanding of area and perimeter, we can ask them to use Turtle Art to prove their comprehension. “Draw two shapes with the same area, and different perimeters.”
We’ve found Turtle Art particularly useful in engaging students in learning about the Cartesian coordinate system. As students experiment with changing ‘x’ and ‘y’ values to move the turtle, teachers can challenge them with questions like, “What do we have to enter to put the turtle back in the center of the screen?” Again, once students have a basic understanding, teachers test their comprehension with challenges like, “Draw a shape in each of the four quadrants.”
The programming element serves as a method for driving the curriculum, and as way of demonstrating the students’ understanding—all while providing them with a fun and engaging creative outlet.
![]()

